
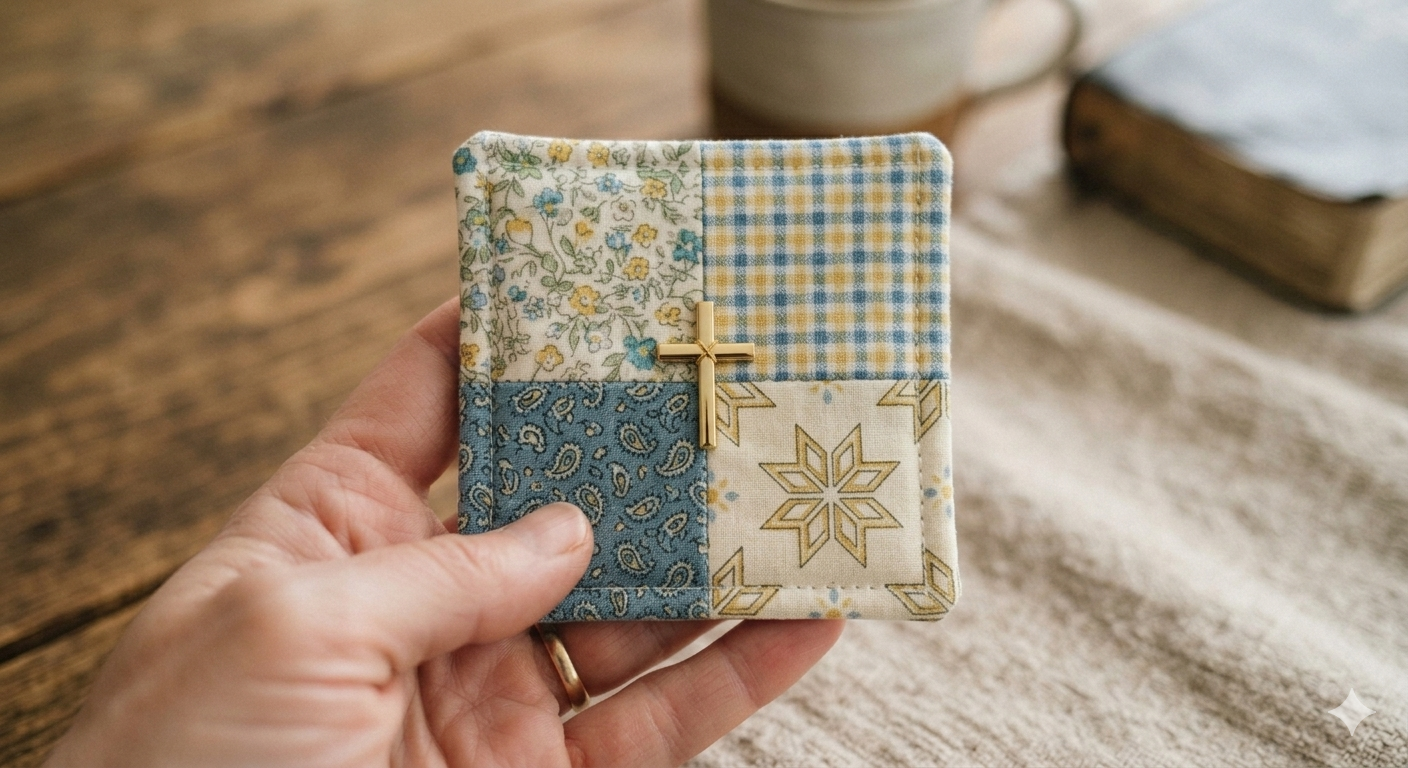
Craft Your Own Layered Pocket Prayer Quilt
A Quick & Easy Guide (with Optional Jewelry Charm!)
This tutorial will guide you through creating a simple, layered pocket prayer quilt using folded fabric squares. These quilts are perfect for carrying with you for comfort, inspiration, or to share with someone in need. We’ll cover the basic construction, adding a special quote, and you can even add a beautiful cross charm!
What You’ll Need:
• Fabric:
• Five 4″ x 4″ squares of flannel fabric (consider pre-washed for ease of use). Four will be folded to form the front, and one for the back.
• One piece of fabric for the back (this will be the same size as your finished front, or slightly larger if you plan to add a binding to the edges).
• Thread: Matching or contrasting colors.
• Sewing Machine: (Hand sewing is also an option, but will take longer).
• Scissors or Rotary Cutter and Mat:
• Iron and Ironing Board:
• Optional Embellishments:
• Transfer paper or printable fabric sheets for your quote.
• Optional Jewelry Cross: (Available for purchase on our website!)
Step 1: Prepare Your Quilt Front
- Fold the squares: Take four of your 4″ x 4″ fabric squares. Fold each one in half, creating 4″ x 2″ rectangles.
• [IMAGE: Four 4×4 fabric squares folded in half to create four 4×2 rectangles] - Assemble the front: Lay one folded square flat. Place another folded square on top of it, aligning the folded edges. Continue layering the folded squares, alternating the colors, until you have a stack that measures approximately 4″ x 4″ when viewed from the top. The folded edges of each square should create the visible “layers” of your quilt front.
• Tip: You might want to iron these layers gently to help them stay together before sewing.
• [IMAGE: Four folded fabric rectangles layered to form a 4×4 square with visible folded edges] - Secure the front layers: Carefully sew around the outer edges of these layered squares to hold them together. A 1/8″ to 1/4″ seam allowance will work. This will form your 4″ x 4″ quilt front.
• [IMAGE: The layered 4×4 square with visible stitching around the perimeter]
Step 2: Prepare the Back Panel and Add Your Quote
- Prepare the back fabric: Cut a piece of fabric for the back. This should be the same size as your assembled front (approximately 4″ x 4″), or slightly larger if you intend to add a binding later.
• [IMAGE: A 4×4 square of back fabric]
Add your quote: You have two options for adding your quote:
Option A: Printing on Transfer Paper
Design your quote: Type your chosen quote into a document. Ensure the text is mirrored if your transfer paper requires it (check the product instructions).
Print: Print the quote onto the transfer paper using your inkjet printer, following the paper’s instructions carefully.
Iron onto fabric: Once printed, carefully iron the transfer onto the wrong side of your back fabric piece. Again, follow the transfer paper’s instructions for heat and pressure.
• [IMAGE: Close-up of a quote being ironed onto a fabric square]
Trim excess: Trim any excess transfer paper around your quote.
Option B: Using Printable Fabric Sheets (WooCommerce Integration)
• (This is where you would link to your WooCommerce product for the pre-printed fabric sheets.)
• Purchase: Customers can purchase a pre-printed fabric sheet with the quotes.
• Cut: Once received, they can simply cut out their desired quote, leaving a small border of fabric around it.
• [IMAGE: A pre-printed fabric sheet with multiple quotes, one being cut out]
• Attach: This pre-printed quote panel will then be sewn to the back of the quilt.
Step 3: Assemble the Quilt
- Layering: Place your back fabric piece right side down on a flat surface.
• [IMAGE: Back fabric piece laid flat, right side down] - Add the front: Place your assembled quilt front (the layered squares) on top of the back fabric, right side up. Ensure they are aligned.
• [IMAGE: Quilt front placed on top of the back fabric, aligned] - Basting (optional but recommended): To prevent shifting, you can:
• Safety pins: Place a few safety pins through all layers.
• [IMAGE: Safety pins being placed through the layered quilt sandwich]
• Basting spray: Use a temporary fabric adhesive spray.
Step 4: Sew the Quilt Together
- Sewing the edges: Using your sewing machine (or needle and thread), stitch around the perimeter of the quilt sandwich, about 1/8″ to 1/4″ from the edge. Leave a 1-2 inch opening on one side for turning.
• [IMAGE: Sewing machine stitching around the edge of the quilt sandwich, showing the opening] - Clip corners: Carefully clip the corners diagonally, close to the stitching but not through it.
• [IMAGE: Close-up of clipped corners on the quilt sandwich] - Turn right side out: Reach through the opening and carefully pull the quilt right side out.
• [IMAGE: Hand reaching through the opening to turn the quilt right side out] - Press: Iron the quilt flat, paying attention to the edges. Tuck in the raw edges of the opening and press them flat.
• [IMAGE: Ironing the turned quilt, pressing the edges flat] - Close the opening: Topstitch around the entire perimeter of the quilt, about 1/8″ from the edge. This will close the opening and give your quilt a neat finish.
• [IMAGE: Topstitching around the entire perimeter of the finished quilt]
Step 5: Adding Your Optional Jewelry Cross
• For an extra touch of meaning, you can add a beautiful cross jewelry charm.
• These charms are available for purchase on our website and can be attached to a corner of your quilt, or even incorporated into a loop or ribbon if you choose.
• [IMAGE: A beautiful cross jewelry charm, perhaps with a suggestion of how it could be attached to a quilt corner]
Step 6: Finishing Touches
• Trim threads: Snip any loose threads.
• [IMAGE: Scissors trimming a loose thread from the finished quilt]
• Final press: Give your completed pocket prayer quilt a final press.
• [IMAGE: The finished pocket prayer quilt, looking neat and well-pressed]
Your Layered Pocket Prayer Quilt is Ready!
You’ve now created a simple, yet meaningful pocket prayer quilt. Share it with loved ones, keep it in your pocket for comfort, or use it as a reminder of your faith. Remember to check out our selection of beautiful cross charms to complete your project!